Saturday, January 24, 2015

(More) Cheap and Easy DIY Wall Art

The mister and I are taking a little staycation in our hometown, so this post comes to you via a gorgeous hotel room with the most incredible views of the city. It's so pretty!
Even better? My mom and dad graciously volunteered to take Buggy Boy for the night, so we're kiddo-free! Hey-o!

What better way to spend a child-free evening than sipping red wine, staring at the beautiful view and writing while the hubs soaks in the tub? 

So, while I have the time (sans Bug tugging at my legs and bringing me his beloved copy of Giraffes Can't Dance to read for the millionth time), I thought I'd share some fun diy wall art we recently tackled. 


I have a confession: In general, I'm terrible at choosing wall art. Aside from my entryway gallery wall, my dining room recipe art, and a handful of other meaningful pieces here and there, our walls are pretty bare. 

Exhibit A: Our (terrifying, narrow, I-get-knee-pain-just-looking-at-them-steep) stairway. 


I have done literally nothing with these walls in the three years we've lived in this house. Partly because these stairs scare the bejesus out of me, and I have every intention of ripping them out and redoing them in a way that doesn't make me count my blessings every time Buggy Boy makes it up or down alive.

That day is a few months and many, many dollars away, however, so I figured the time had finally come to do something with these sad, lonely walls.

Enter these sweet diy arrows made from leftover pallets and some super cool boxcar lumber we bought at a great architectural salvage shop in St. Louis called Refab (We've gotten some pretty awesome stuff there before, including a fun vintage light fixture and a ton of gorgeous reclaimed beadboard. Stay tuned for that project!). 


It's a little tough to read, but the arrow on the left (that will point up the stairs) says, "To bed! To Bed! You sleepyhead!" And the arrow on the right (that will point down the stairs) says, "Away! Away! To start the day!"


These were relatively easy, although I made some poor life choices in regard to the font. I decided I was too cool for a stencil and should probably make my own using a word document and transfer paper. Fast forward to me crouching over the coffee table at 11:00 on a Tuesday with the world's smallest paintbrush and an empty bottle of wine cursing my husband, supportively snoring on the couch next to me. Stencils, my friend. Always choose stencils.


Unfortunately, because our stairway is so narrow, I couldn't get a decent picture of these actually hanging. But you get the idea, right? 


I'll have the tutorial up later this week in case you'd like to try your hand at making your own. In the meantime, I've got a date with a handsome man to get back to! 

Happy weekend!

Monday, January 19, 2015

Easy Personalized DIY Dining Room Art

Welcome back! I hope you're enjoying your three day weekend.

We took the opportunity for a little extra time at home and finished up a project I've been wanting to tackle for some time now.


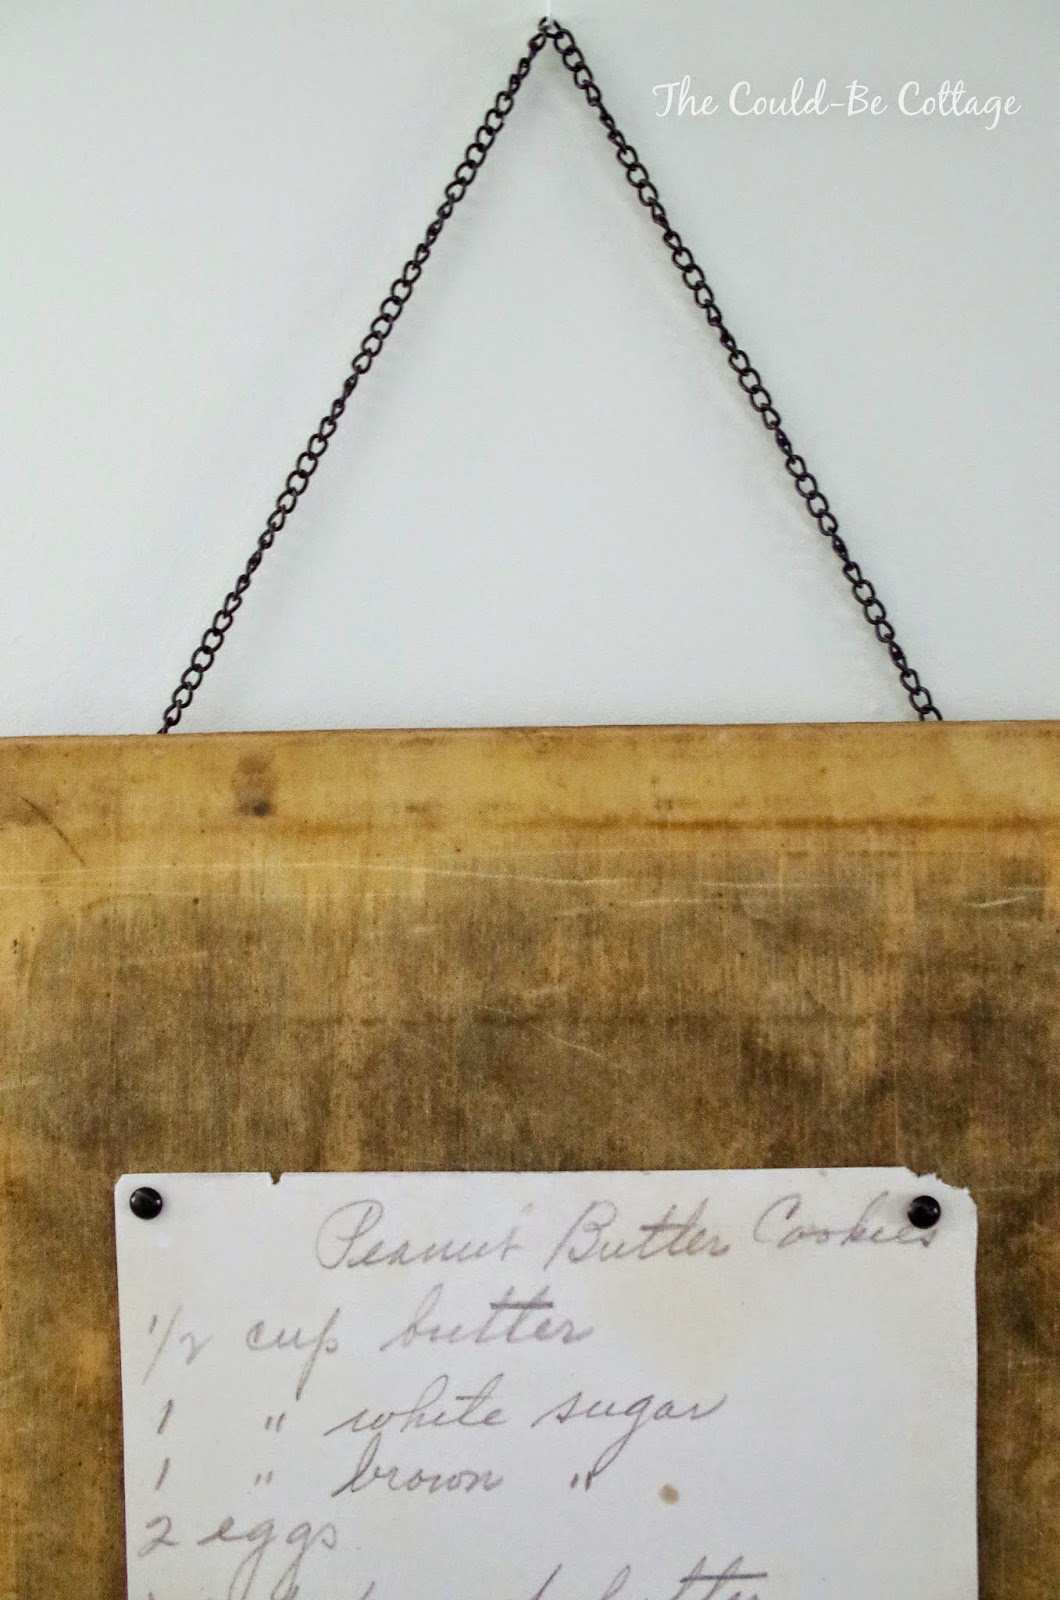
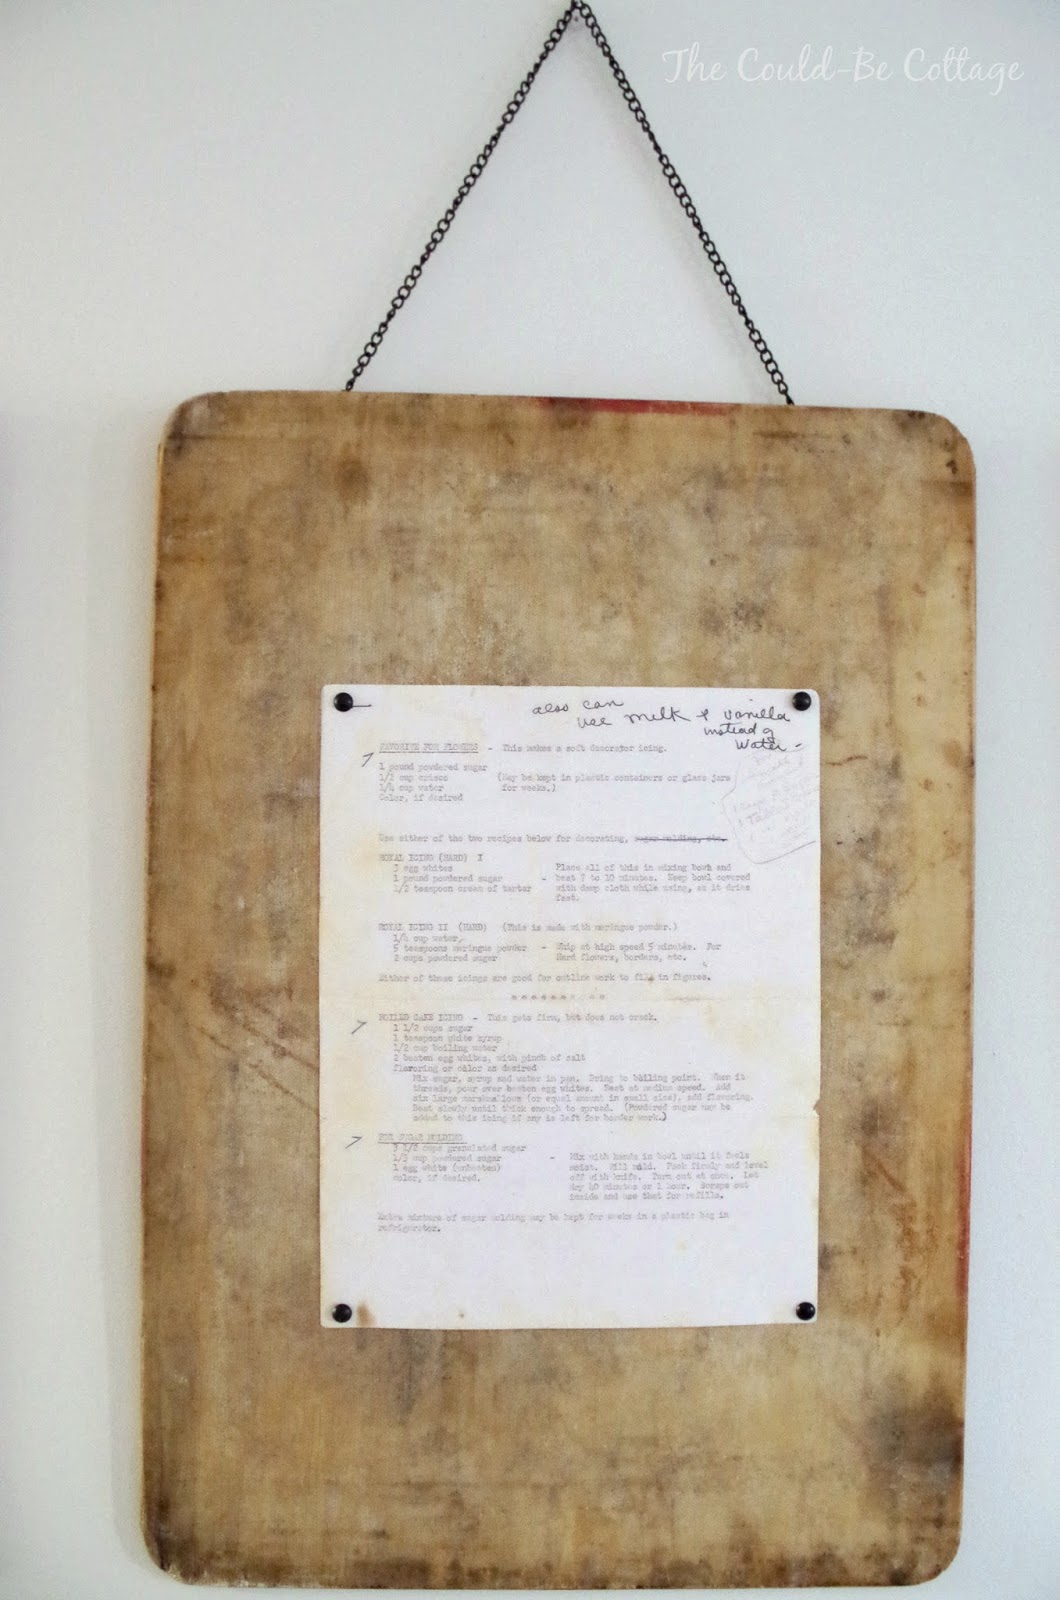
I bought these vintage bakery cake boards from a local antique shops several months ago, and they've been collecting dust in my basement ever since. I always intended to display them somehow in my dining room, and this weekend, I finally got around to doing something with them.

My mom has a collection of old recipes from both sides of my family. I thought they'd make the perfect art to display on the cake boards.


I originally went to FedEx/Kinkos to have them enlarged, but to have five recipes reprinted in color it was going to cost me $180 (black and white would cost $107)! Can you believe that?!

I also checked out Shutterfly, which I love and use frequently, but they would cost me $90. That's pretty reasonable for what I was looking for, but I still couldn't bring myself to do it.

Instead, I packed up the Bug, drove over to my parents' house, and bribed my dad with some Buggy/Grumpa time to let me use his professional grade laser printer. Sucker!

I just scanned them and cleaned them up a bit on Picmonkey.com, which is my absolute favorite picture editing website. And the best part? It's free! (Although they do have some pretty awesome extras if you have a subscription).

They aren't as big as the ones from FedEx or Shutterfly would have been, but I actually think I like them better this way. You can see more of the cake boards, which are really beautiful in person.


I ended up spending $18 on 11x17 cardstock, plus about $12 extra for the chains to hang them, which I picked up in the jewelry section of Michael's. I actually have two more left to do, but Michael's only had three chains, so I'll have to wait till they get more in stock. Lame.

Justin screwed the chains onto the back of the cake boards and hung them using some extra eyelet hooks we had lying around.


Ta-da! I love they way they turned out! They're very simple, which I love, and will work well with any seasonal decor I use in that room.

Plus, they're a wonderful way to display family heirlooms like this one for the Easter egg shaped sugar (or suger, as it is written) molds my great-grandmother used to make.


Or this recipe for my Grandma Popeye's (obviously not her real name. No one's parents are that cruel) sugar cookies. The original has a drawing my mom did when she was a child on the reverse side. So stinking cute!


There you go! Simple, personal diy dining room art that doesn't cost a fortune. This could be done just as easily on vintage cutting boards, or even pallet wood.


Happy Monday!

Monday, January 12, 2015

A Call to Armchairs: What Would You Do?

We've been talking about redoing our master bedroom for a while now. Although, I'm not sure it counts as "redoing" if you never did anything with it in the first place. Details.

It's a big room. Scratch that. It's an awkwardly cavernous and not at all cozy room, and I've been looking for ways to make it feel more like a grown-up space and less like a parking garage for all of Buggy Boy's toys.

So, I was trolling the furniture section of Craigslist the other day (you know, like you do), and I came across something that stopped me in my tracks.


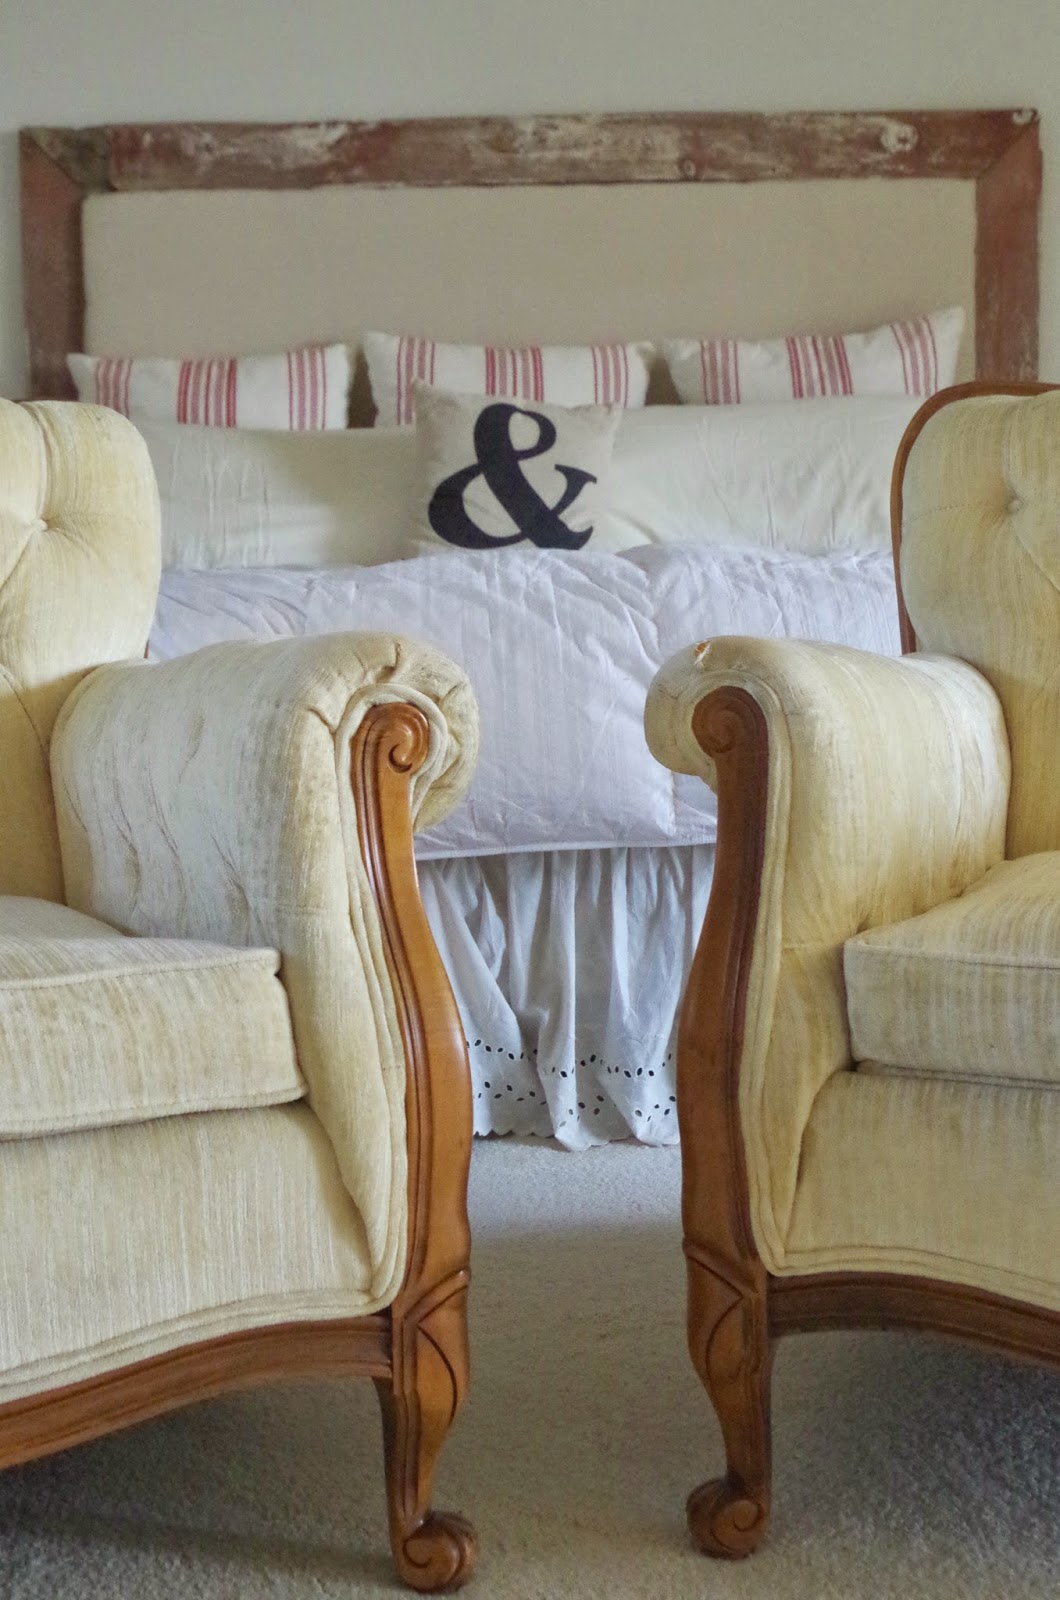
It was an ad for a pair of vintage tufted chairs with rolled arms and wood trim. Be still my heart!

We don't have the kind of budget or storage space for impulse furniture buys, but when I saw these, I had them bought and paid for by the end of the day. Actually, Justin did. That man gets me.

(It should be noted that the Craigslist posting was from a local antique store, not some random person, and that's where we bought them. I don't know why that makes me feel better about buying used upholstered furniture, but it does).

(Please ignore literally everything else in this picture.)

Online, the chairs looked like a soft cream color, and the trim looked considerably darker. Or perhaps I just wanted it to, especially since they were $50 each, and I knew I'd never find vintage tufted armchairs in that price range again.

As you can see, however, now that I am the proud owner of said chairs, they are not, in fact, cream-colored at all.

They're more of a soft, buttery yellow.


They also have some general wear and tear around the edges. But honestly? I don't care. I still love them.

I don't know what it is about these chairs, but I absolutely love them!

Unfortunately, however, they look pretty awful with the other decor (if you can even call it that) in this room.

Our original plan was for a simple black and white color scheme with red accents. Hence, the red reclaimed barnwood headboard and red and white pillows.


Here's my original inspiration for our black and white bedroom with pops of red. 

I love the striped rug and the black painted furniture. We have a set of thrift store dressers which I plan to paint black at some point. Of course, we also bought those dressers a year ago, and I haven't so much as dusted them, so...

I digress. Now that the yellow chairs have made their grand entrance, I have a decision to make.

Option 1: Paint the chairs. 

I have zero money to have the chairs reupholstered, and I think Justin's eyes might actually roll out of his head if I ever told him I was considering reupholstering them myself. 

Plus, have you seen the bajillions of diy painted upholstered chairs on Pinterest lately? 


As my mom would say, "I could do that." (Disclaimer: This is what we say while walking through craft stores looking at cutesy burlap tchotchkes and knitted coffee mug cozies. What it actually means is: "I could do that, but I have neither the time, nor the motivation, so I probably won't. But again, I totally could.")

Option 2: Change my color scheme.

As you can see from the above pictures of our bedroom, we have next to nothing accomplished for the original plan. So, at this point, it's not too late to turn back. 

Currently, I'm considering an eclectic red and white color scheme with soft yellow accents...

Or a fun mix of teal and yellow...


Or sticking with the original black and white plan, but using pops of yellow instead of red. 


So, what do you think? Would you paint the chairs, or change the plan? 

Leave me a comment and let me know!

Friday, January 9, 2015

First DIY of The Year: Our Master Bedroom Window Seat, Part 1

Well, this is embarrassing.

Forgive me; I've been a neglectful blogger. It's been three weeks since my last post. THREE WEEKS!

I have an entire list of excuses, not the least of which is that we literally just got around to taking down our Christmas trees, and the house is still in shambles.

It looks like the Toys-R-Us big book exploded in our living room, and because we live outside city limits and have to drive our recycling into town (ain't nobody got time for that!), there are one month and two holiday's worth of wine bottles threatening to overtake our garage/kitchen/dining room (we had company, no judging).

Regardless, it's shameful how long it's been since my last post.

So, without further ado, I bring you my first post of the new year.


I know what you're thinking, but stay with me. See this boring, sad little reading nook? This is the inside of our master bedroom dormer (Note the Christmas wreath. This picture is from yesterday, so... yeah.).

Pretty pathetic, right? No one besides me, Justin, and Buggy Boy ever sees our bedroom, so unfortunately it's taken a backseat in the decorating department. In fact, right now it looks more like a McDonald's play place, complete with an inflatable ball pit and motorized Thomas the Train ride on toy, than a romantic retreat.

(Let me tell you, there's nothing quite like tripping over a giant piece of hard, blue plastic with a face and hearing, "Hello! I'm Thomas!" on your way to the bathroom at 2 o'clock in the morning to shave a year off your life.)


This little niche off the side of our bedroom has always bothered me. I think it's because it could be so cute and functional, but we don't use it for much other than storing our dirty (and clean, let's be real) laundry. We do occasionally cuddle up with Buggy Boy and read stories, which I absolutely love. But I wanted it to be something more comfortable, functional and considerably less depressing.

That was until I took Buggy Boy to my parents' house to hang out for a few hours and came home to the makings of one cozy, darling little built-in window seat.


While we were gone, Justin built the window seat I've been whining talking about for months now.

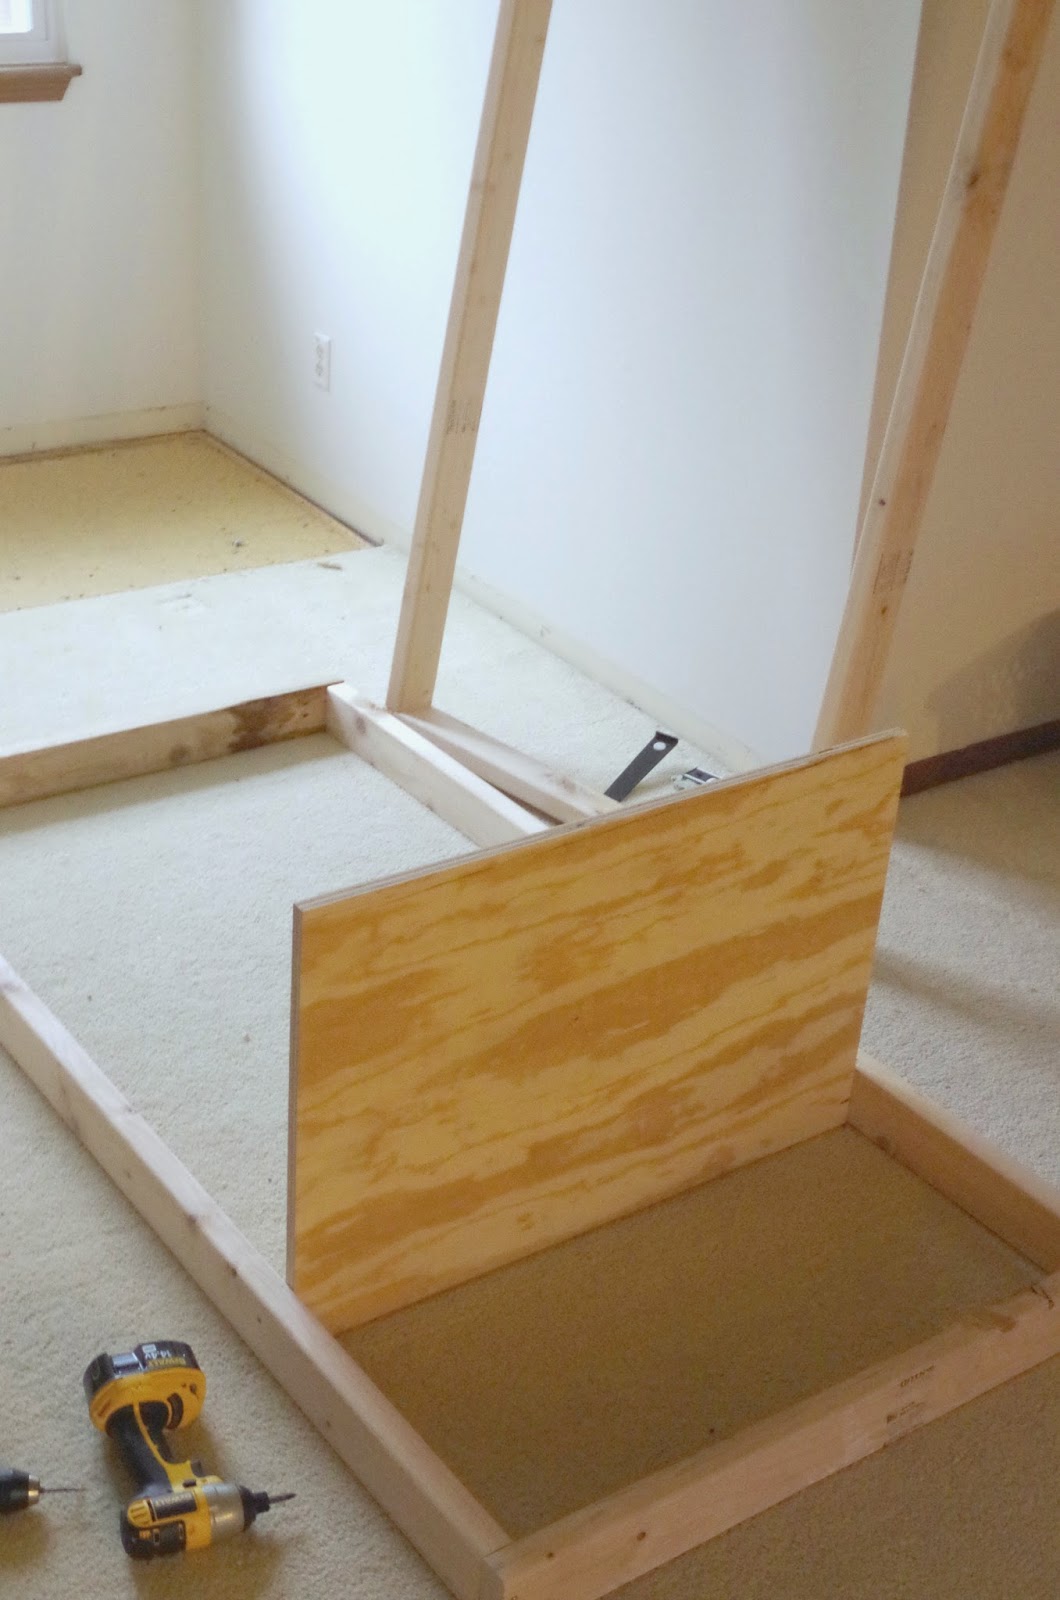
Apparently building a window seat is basically just building a giant wooden box and then screwing it into the wall. Who knew?

He started by building two rectangular frames, one for the top of the box, and one for the bottom. Next, he ripped a sheet of plywood down to fit inside the frames. He screwed two of these sheets into the frames about three and a half feet apart. These are the interior supports that help hold the top of the seat up.


Next, he screwed the top and bottom frames into the wall.

He also ripped up the carpet beneath the window seat. We have big plans to rip up that carpet and lay down hardwood in the future. We won't put hardwood under the window seat, but we didn't necessarily want carpet under there, either.


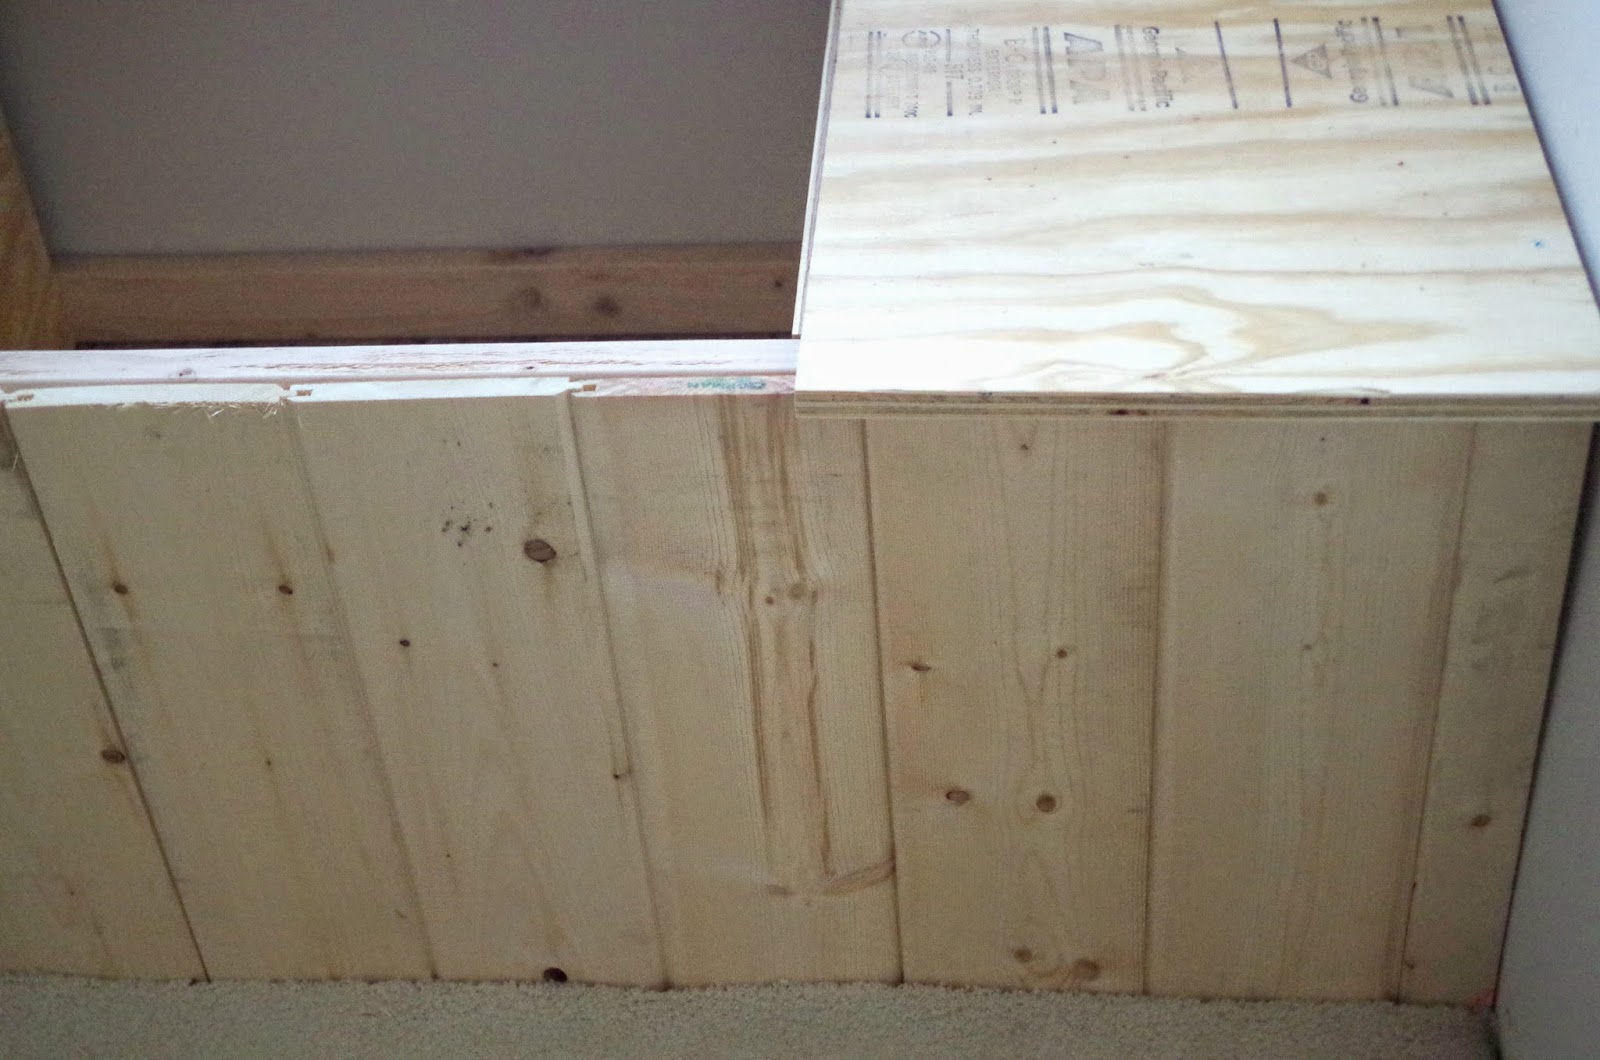
Once the frame was in place, he faced the front of the seat with tongue and groove pine planks my dad picked up and donated to our supply of random boards in the barn.


Next he cut a large square out of  sheet of oak plywood and reattached the square with hinges. He screwed it into the top frame of the box. Now the window seat lid can open, and we can store things like blankets and off-season clothes.


That's it! The front still needs to be painted, the top needs to be sanded and stained, and we should probably consider tacking down that loose bit of carpet that's just hanging out on the left side there.

But considering this was less than a day's work, and I didn't have to do any of it, I'm pretty impressed!

Here's to a new year, new projects, and sweet, power tool wielding husbands!

Happy 2015!