Thursday, July 9, 2015

Time for a Change

So, what's new with you?

You may not have noticed, but we've had a few small changes around here as of late. You know, little things: name, layout, design, what have you.

All joking aside, I've decided to let The Could-Be Cottage go and move on.

Here's the thing, I really liked everything about The Could-Be Cottage. I liked the name, I liked the design, and I liked having the opportunity to write about our home.

But I didn't love it.

It never felt exactly right to me. The name didn't really fit our lifestyle, and the layout always felt  a little off. It lacked color and life, and it just wasn't true to us.


Because the truth is, our home, and our lives, are pretty messy. And trying to pretend like they're simple, tidy and well-kept all the time just wasn't working.


Not to mention, no matter how much I'd like it to, this house will never be a sweet, cozy cottage. It's a sprawling, open-concept monstrosity with some major layout issues and very serious "bone structure" problems. We often refer to it as a "funhouse" because absolutely nothing is straight or even, the shape and proportions of all the spaces are ridiculous, and we discover some new absurdity every time we start any new project. Every. Single. Time.


I'd rather write about that. And I'd rather write more about the things that are important to me, like my family, our stories, our successes, our epic failures and, of course, our home.


We're still tackling new projects, trying to finish ones we started years ago, and turning this gigantic funhouse into our forever home.

I'm really excited about all the new changes, and I hope you'll stick with me while I figure them out.


Welcome to Our Forever (Fun)house!

Sunday, June 28, 2015

Sunday Strollin'

There's been a miracle! 


Of our three acres, about 15% is wooded, 5% is mint (NEVER plant mint in the ground. Containers only, trust me), and the other 80% is weeds. 

But not today. 


VICTORY!

Sunday, June 21, 2015

Best (And Easiest) White Sangria Ever


Here it is, as promised. The best (and easiest) white sangria recipe ever, adapted from here:

  • One bottle of white wine*
  • 1/8 - 1/4 cup of sugar (We always use 1/8 cup per bottle of wine, but we like it a little less sweet)
  • Juice from one lemon
  • One apple and one peach, sliced
  • Fresh mint, if you like
Mix it all up, pop it in the fridge and call it a day!

*OK, here's the kicker, my secret sangria weapon: I always use Gazela Vinho Verde white wine. It's not too sweet, and lightly carbonated, so it gives the sangria just the right amount of fizz. Lovely and refreshing on a hot summer night.


Just fyi, we always double the recipe, especially if we have company. Strangely enough, one bottle of wine never seems to go as far when mixed with fresh fruit and poured from a pitcher. I'm sure there's some kind of scientific explanation...


Cheers!

Saturday, June 20, 2015

Turning Weeds into Wildflowers


You. Guys.

It has been FOREVER since I last posted. But let me just say, it has been one of those months around here. You know the kind: nothing too terrible goes wrong, but absolutely nothing goes right, either. We've had a whole lot of first world problems over here at the ole' Could-Be Cottage lately, and things have only recently started looking up.


Allow me to give you an example:

About a week ago, Justin took on an extra Saturday shift at the clinic where he works, so Buggy Boy and I were on our own for the entire day/evening.  So, of course, there was a freak tornado warning out of nowhere, and we had to get into the basement in a matter of -30 seconds. This involved wrangling:

1. An almost-2-year-old with a penchant for putting gross things in his mouth and rubbing his belly like they're yummy in his tummy
2. A 100 lb. dog who, for the record, is a huge baby and refused to go down into the basement without being dragged by the collar
3. Every toy within arm's reach because the only other interesting thing for a toddler in our basement is an ever-growing collection of dead bugs, and there isn't enough wine in the world to make that game fun
4. And our emergency kit, including a flashlight, blanket, water, (possibly a couple of 10 lb. weights) and snacks, because heaven forbid we have to sit anywhere for any period of time sans honey Teddy Grahams

While we were down there poking dead bugs with an old board I found reading stories and doing puzzles, I noticed some water had leaked in on one side of the basement. Of course.

We survived the storm, and the next day, Justin went down to the basement to search out the source of the water. It appeared to be coming from a removable panel in the ceiling that leads to God knows where. In a brief, but stupid moment of boldness, he steeled himself, looked up and removed the panel. A flood of mouse poop and this little relic rained down upon him in waves.


(Please note I did not watermark this picture. If you'd like to claim this little beauty as your own, by all means, help yourself.)

Yes, folks. That's a snakeskin. So now we've got that to deal with, as well as a possible (read: definite) black mold problem from all the moisture in the ceiling and wall.

Although, I will say it almost made it all worth it to watch my 6'3", 215 lb. husband, the love of my life, father of my child, yelp and flail his entire body like he was in a Taylor Swift video.

I won't lie guys, it was good.


So here's the good news: things may not be perfect, but we're choosing to focus on the positive. We have our health, a beautiful (if a little waterlogged) home, and each other.


So tonight (the first night in a MONTH that it hasn't been raining), I thought it would be fun to spend a little time with my favorite guy. Defender of basements. Slayer of snakeskins.


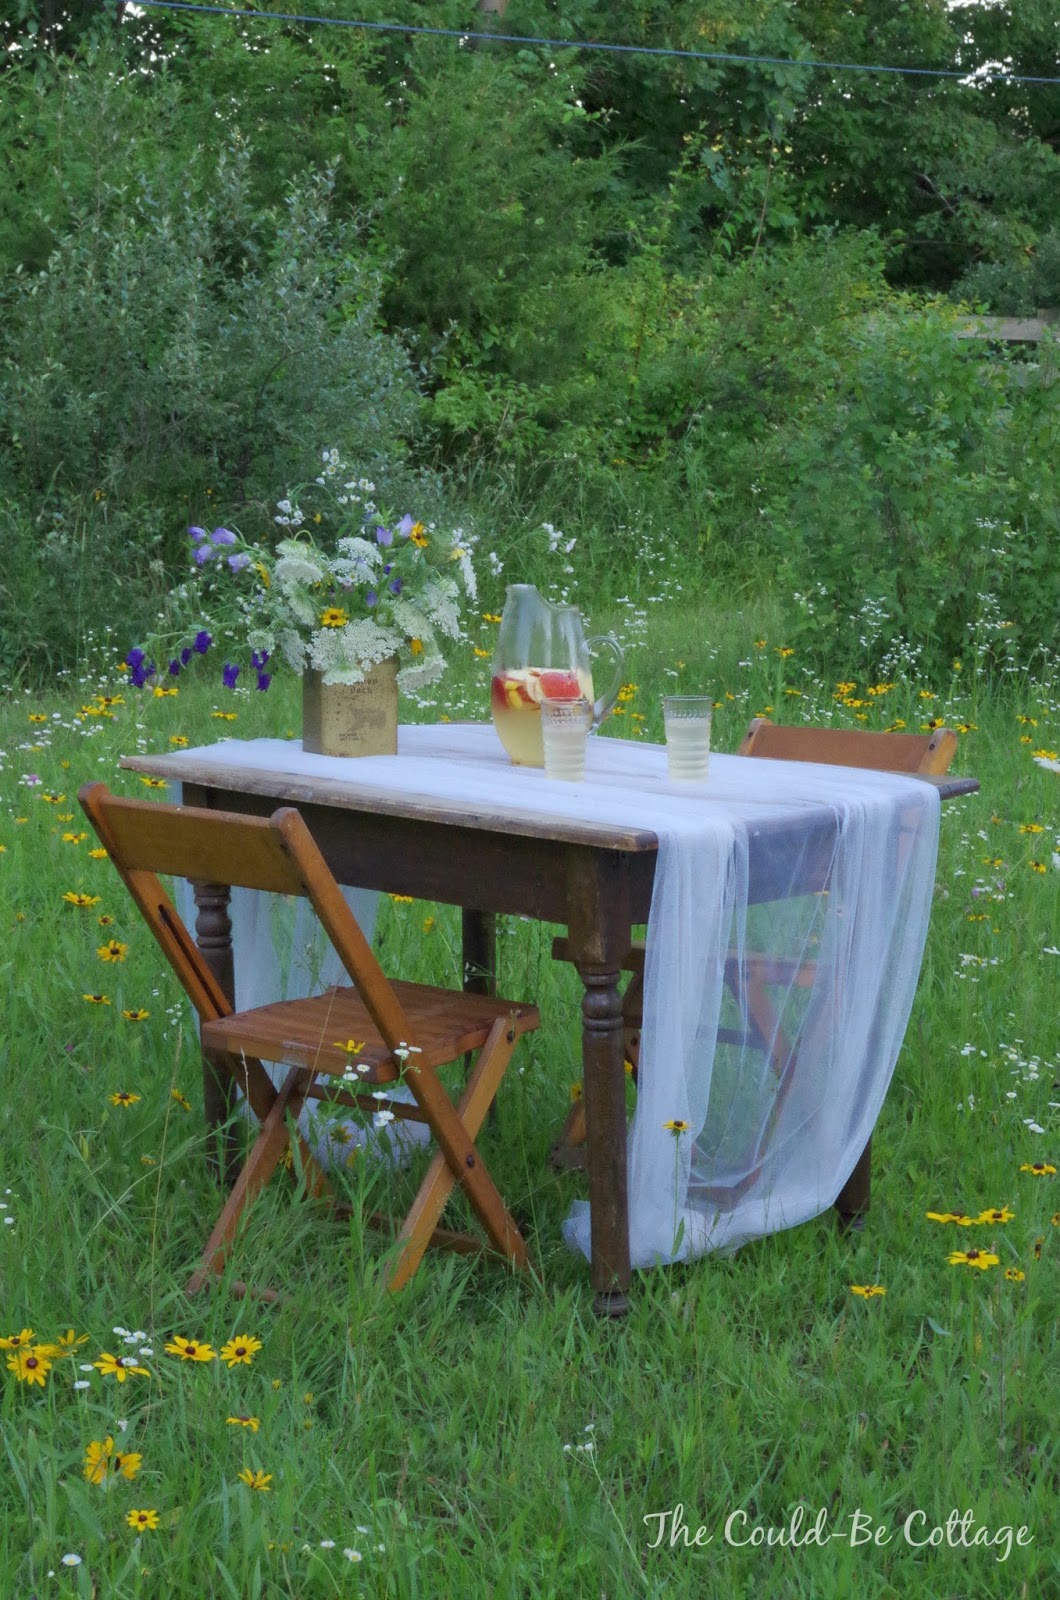
Thanks to all the rain we've had lately, it's been impossible to mow, so the yard has been taken over by Queen Anne's lace and Black-Eyed Susans.


And I can't think of a better way to spend an evening than sipping sangria in a field of weeds wildflowers.


I'll be back tomorrow with the world's best white sangria recipe. Seriously, you're going to thank me for this one!

Tuesday, May 5, 2015

A Tomato Planting Tip For the Gardening-Impaired

I have a confession, friends. It's a tough one, but here goes:

Despite what you might think, I am not, in fact, a master gardener. 


I know, you're shocked.

You assumed the fact that my toddler son runs wild through the yard with one missing shoe and a streak of cottage cheese in his hair while my dirty laundry pile threatens to dust the cobwebs hanging from my closet ceiling must mean that I am otherwise occupied in some meaningful endeavor. 

And you may be right. But gardening, friends, is no such endeavor.


This is me last year: the proud, albeit naive new owner of my very own vegetable garden. It was a very thoughtful birthday gift from my well-meaning husband. 

Can you see the determination in my eyes? The conviction in my swagger? The grit in my teeth? It's there somewhere, presumably hidden under the wide-brimmed hat flopped jauntily to one side and the classically cool Ray LaMontagne t-shirt. 

Please also note the suspiciously clean wellies and the gloves draped casually from my pocket. 

Gardening? Oh yeah, I got this. 

Flash forward two months to me standing in a shriveled, drought-stricken pest metropolis where the only things thriving are grass, weeds, and some seriously determined lettuce that's taller than I am and refuses to give in (Apparently lettuce will grow forever if you forget to pick it. Who knew?).

Alas, I am no gardening expert. I have, however, decided to give the whole gardening thing another shot. 

But this time, I'm calling in the big guns: This guy on YouTube.

I admit, when it came time to plant again this year, I googled "how to plant tomatoes." This guy popped up, and I decided to give his advice a shot. 

I'm sharing it here with you in hopes that all you will remember from this post is that I am a genius and you're going to recommend me to all your friends in the future. 

So here goes.

How to grow stronger, more fruitful tomato plants:

1. While the plant is still in the container, turn it on its side for a day or two. It'll grow up toward the sun and develop a natural bend in the stem.


2. Trim off the extra branches beneath where the plant begins to bend upward.


3. Dig a trench and lay the plant in sideways. Bury the stem all the way up to where it bends. This will give the plant a stronger root system and allow it to absorb more nutrients (or so I've been told).


I chose to cover mine with a little extra vegetable potting soil (which I also mixed into the trench, but forgot to photograph) and then topped them off with some extra plant food.

 My beds ended up looking like a tomato cemetery, which does not bode particularly well for this year's crop...


That's it. Easy enough, right? I mean, honestly, the tomato basically does all the work for you, which makes it my kind of plant. 

Now if I could just figure out how to grow self-trimming lettuce, I'll be all set!


Happy planting! 

Monday, April 27, 2015

DIY Patio Herb Garden

Welcome back!

We're still in the throes of our patio makeover, but I thought I'd take a break to show you the compact herb garden I threw together for our patio table. 

But first, a story.

This past weekend, Justin volunteered to take Buggy Boy for an entire day so my mom and I could attend an antique festival without the pressure of nap time and toddler-boredom-destruction mode.

It was supposed to rain later in the day, so we hightailed it out of here at 7:30 in the morning headed east, high on caffein and freedom.


While there, I spotted this little piece of rusted gorgeousness for $12, and the completely unjustified wave of I-love-it-so-everyone-else-must-love-it-I-gotta-get-it-first panic crashed over me (You know the feeling). I sent my mom out to hunt down the man who owned the booth so I could snag it before anyone else. I stood guard, staring squinty-eyed at anyone who came suspiciously close to my precious.


Fortunately, I was not the only crazy person there. Another woman stood next to me guarding a set of square washtubs while her poor, desperate husband searched for the very same absent booth owner (He's lucky we're so honest, by the way).

After a few short minutes, she declared her husband a failure and waved him and their young son over to take up her post.

Eventually, the booth owner was located, several yards away on the other side of the street. While his mother waited in line to speak with the vendor, the boy next to me looked up at his father with utter disgust and let out a loud, "Ewwww!"

Then he bellowed to his mother across the street, "MOM, DAD MADE A STENCH!"

Just about everyone in a seven mile radius heard, and much like myself, stared politely at the ground trying not to laugh while the boy's father turned twelve shades of red and clamped his hand over his son's mouth. 

I personally counted my blessings that I have my own goofy, unpredictable boy to love. And even better, that he was at home.


This vintage chicken feeder is the perfect size for my patio table (which is in the process of being stained). I just loaded it up with some gravel for good drainage, a little vegetable garden potting soil, and a mess of my favorite herbs. 


It smells heavenly, which may be useful if if you happen to have an overly-observant boy on your hands... 

Tuesday, April 21, 2015

DIY Outdoor Sectional Update: Done!

Well, it took a lot of work, patience, and babysitting by Curious George to get it done, but here it is!


I know it was crazy to get white cushions for outdoor furniture, especially with a toddler, a dog and my own flock of this kind of chicken. But when I missed the sale deadline on some other cushions I had picked out, the budget and I had a nice long sit down about the whole thing. 

I was all, "Let's get these pretty blue cushions that hide muddy paw prints and popsicle goo." And the budget was all, "Sure! You can get enough to cover half of this ginormous monstrosity you've built. Which side do you want?"

We hashed it out, and I've agreed accept a little goo in my life. Plus, the cushion covers are removable, washable, and bleachable. And if all else fails, I've been dying to try fabric spray paint...


A little chippy paint glamour shot for you. Gorgeous, no?


The rest of the porch is still very much a work in progress, so please excuse the broom. And pardon Sully in the background. He's waiting patiently for me to finish up so he can snag the first nap.


After he wipes his paws, of course...